Seitenhistorie
![]()
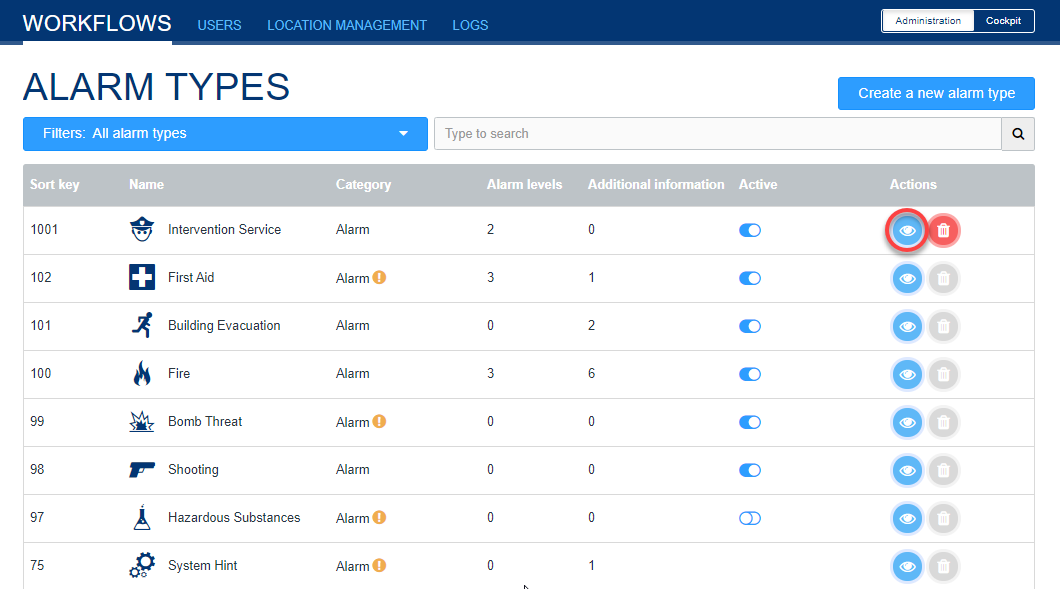
Activate the intervention module
The Intervention Service module offers you the possibility to precisely track the movement of an intervention force. GPS coordinates are transmitted every minute and can be viewed immediately during the active alarm. When the alarm is over, all data is still available in the alarm archive. How you can use the module in the app or in the cockpit, you can see here.
| Info |
|---|
You can use the functionality of the module for any alarmtype. |
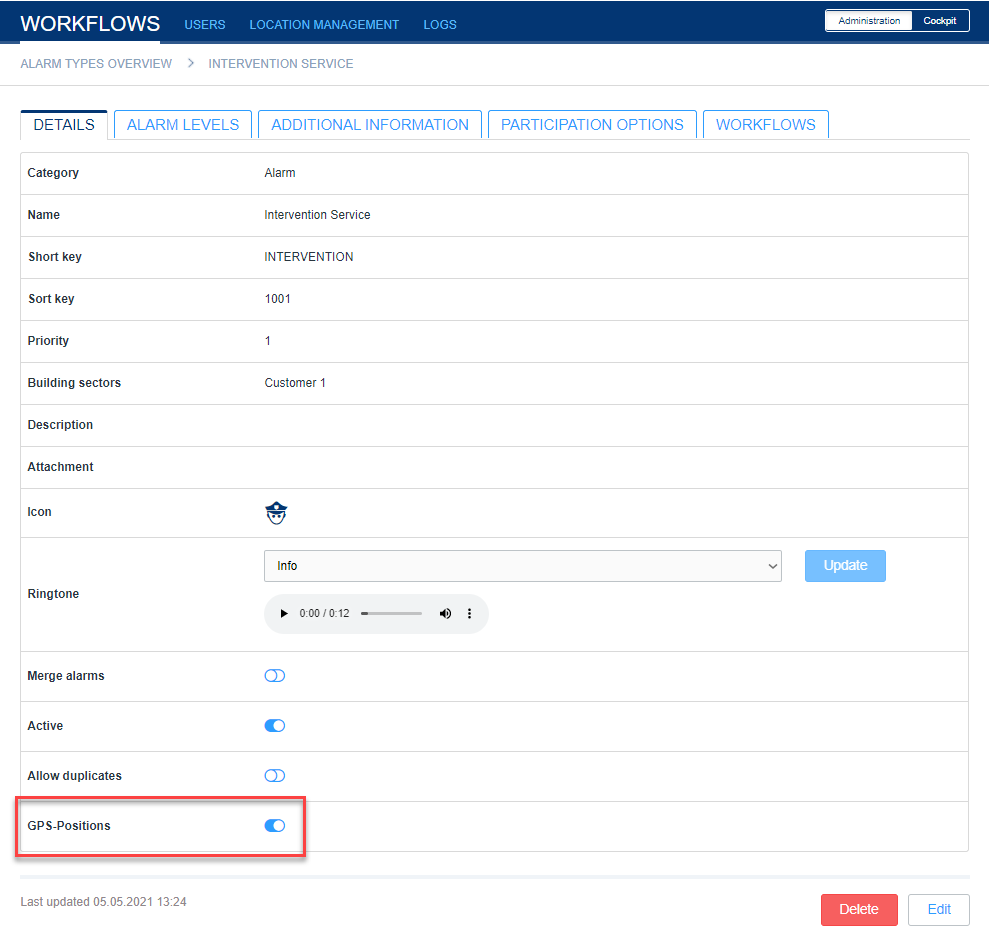
After module activating, an additional field "GPS position" appears when creating or editing an alarm type. In the event of an active alarm, the GPS coordinates of the recipients who accepted the alarm are displayed and documented in our system every minute for the duration of the alarm.
Automatic documentation of the route and arrival
With the intervention module you have the possibility to automatically record the approach and arrival of the intervention driver. To use this function, define two alarm levels in the first step.
How you want to name them exactly is up to you. The only important thing here is that the alarm levels are given the correct abbreviations for the automatic selection function.
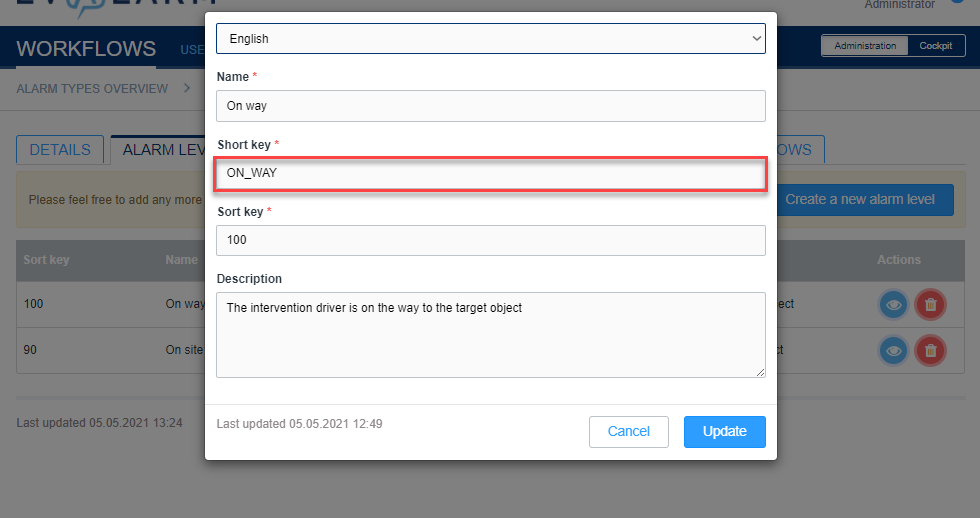
ON_WAY
For the alarm level which should be selected automatically when the user is on the way to the destination, the abbreviation "ON_WAY" must be defined.
| Info |
|---|
This alarm level is automatically selected when the user moves 100 meters away from the point of alarm acceptance. |
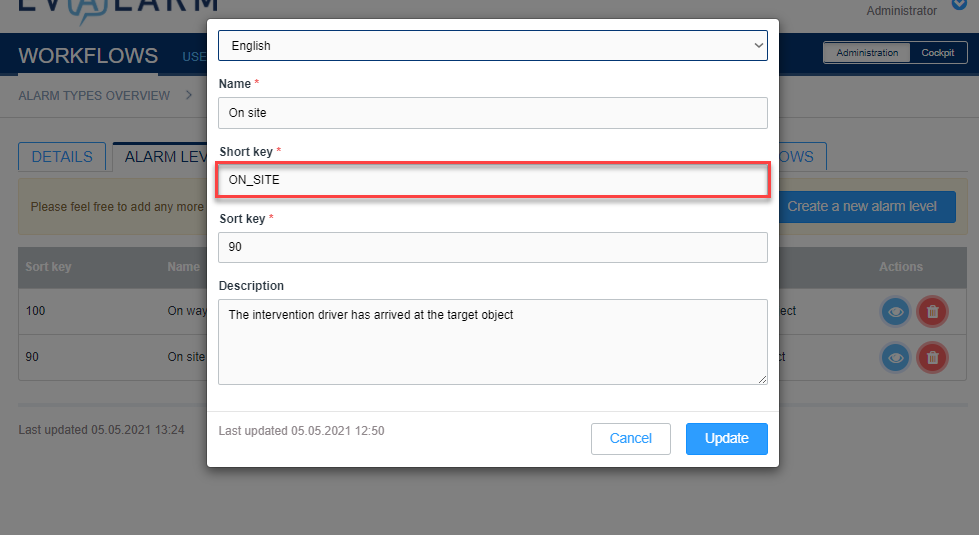
ON_SITE
For the alarm level that should be selected automatically when the user arrives at the destination, the abbreviation "ON_SITE" must be defined.
| Info |
|---|
This alarm level is automatically selected when the user arrives at the destination within a radius of 300 meters. How to define a destination is shown in the next section. |
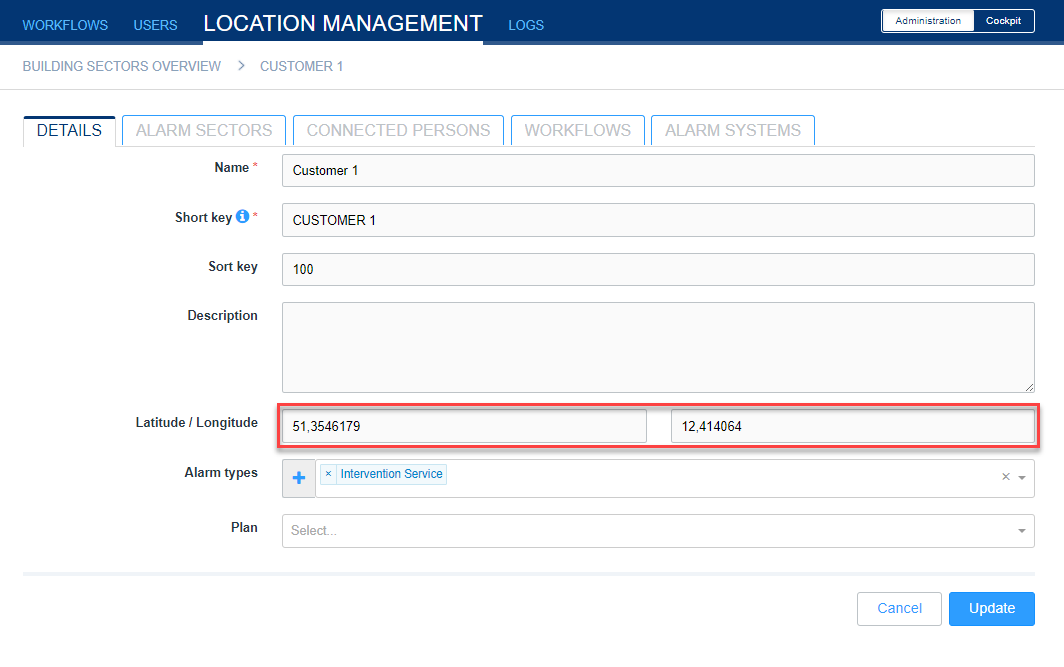
Define destination
To define a destination in the system, a building section with GPS coordinates must be created. This is created in the location management under "Building sections". How to create a building structure in general is explained in more detail here.
It is important to determine the GPS coordinates as precisely as possible.
The easiest way to do this is to use "Google".
You can find out how to determine the exact coordinates here.
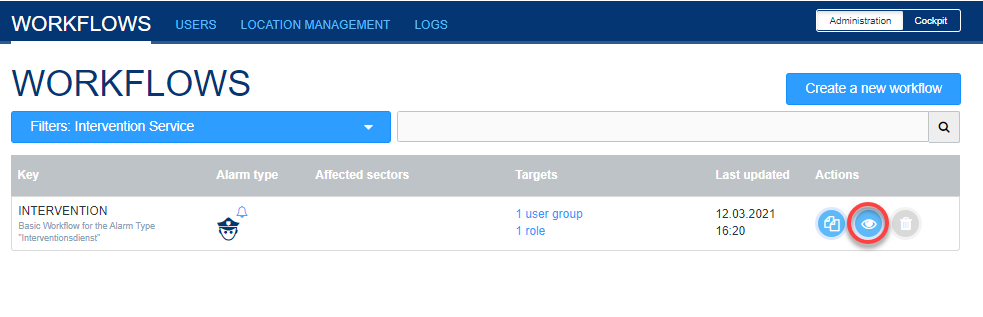
Define targets of the alarm
As with every alarm type, the next step is to define who is the target of the alarm, i.e. who should receive the alarm. To do this, go to Processes and select the appropriate base process.
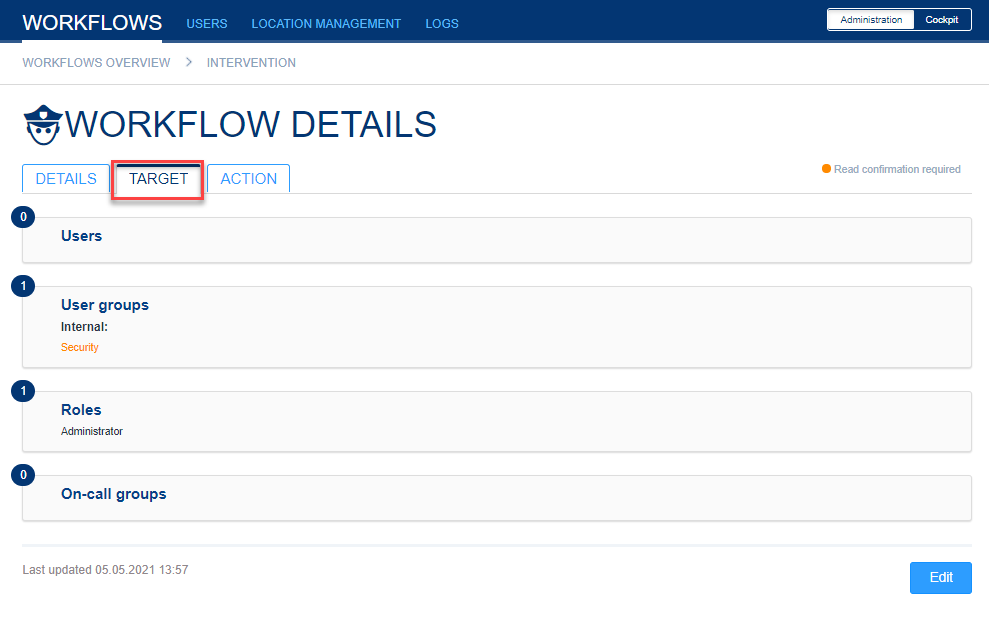
Under the "Target" tab, you can now define who should receive the alarm. You have the possibility to add certain users, user groups, user roles or standby groups to the alarm.
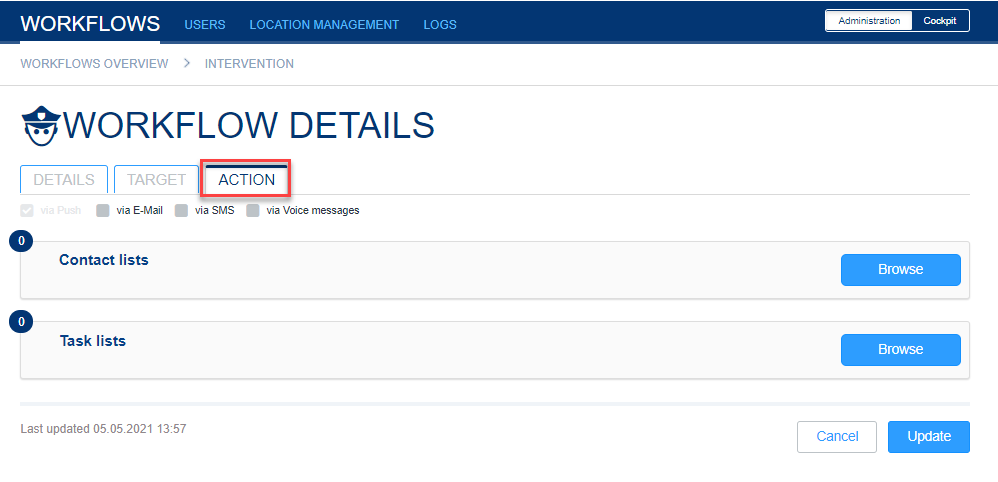
Define action
In addition, under the "Action" tab, you can assign specific contact and/or task lists to the previously defined targets of the alarm.
Here you can also define whether an additional alert should take place via email, SMS or voice message.
| Info |
|---|
Additional costs may be incurred for alerting via SMS or voice message. Therefore, these options are only activated after consultation. The use of the app is required for active participation. |
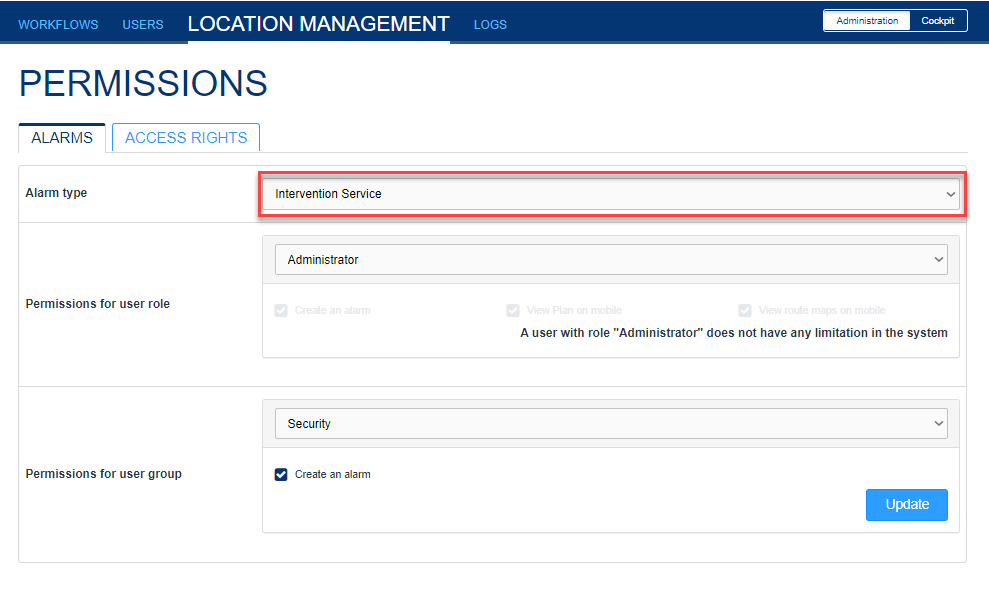
Permissions
Finally, you must configure who is authorized to trigger the intervention alarm. You can do this in the "Location management under "Permissions". To do this, select the Intervention service alarm type. For this, you can define per user role and per user group who is allowed to trigger the alarm.
Überblick
Inhalte